


So, to save you a bit of time and hassle, here’s a quick checklist you can use to make sure you’ve got everything boxed off. Note that it’s just intended to cover all the key points – it’s not a guide to getting everything done individually, so if you’ve got any questions about any individual maintenance jobs, don’t hesitate to ask one of our team.
Right then – shall we get into it?
Phase 1 – Check and Inspect
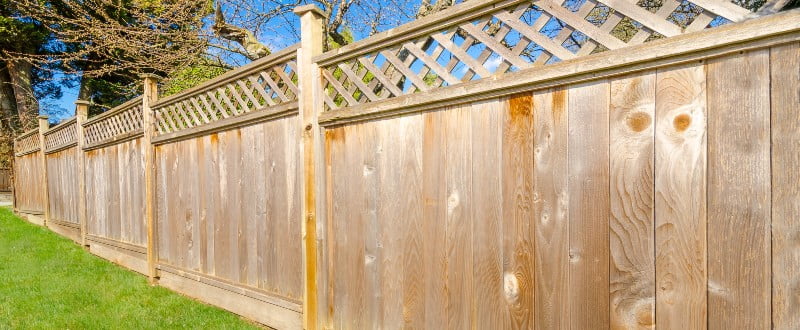
1. Take a walk around your fence
Start simple – just take a quick mosey to inspect the entire length of your fence. If you’d like, you can take a small notepad with you. Make note of anything untoward that you spot, including any physical damage, marks, gouges, woodworm, or loose or missing boards. Don’t forget to look at your rails and fence posts too.
2. Check for rot
While you’re there, make sure to check the base of your fence posts to see if any rot has accumulated. If so, you’ll need to go back and deal with it later by repairing or replacing the affected sections.
And that’s Phase One complete! Once you’ve tallied up all the elements that need addressing, you can then move on to the business of actually getting it all sorted. Don’t forget – there’s nothing that says you necessarily have to get it all done in one sitting!
Phase 2 – Deal with marks and holes
3. Protect against insects
When you’re ready to go, one of the first things you’ll need to address is any possible insect infestation. If you found any, then make sure to sort those as soon as you can – you can find specialist products in most homeware stores. Don’t forget to check if they’ll be compatible with your fence, before you start using them too liberally!
4. Fix cracks and holes
If there are any minor gouges, you might want to consider using wood filler to deal with them, and prevent further deterioration. You can also sand and repaint or reseal the affected areas as required. If the damage is particularly bad though, you might want to save yourself the bother, and move straight onto the next stage…
Phase 3 – Sort out structural issues
5. Secure loose component, and replace damaged boards
If any of your boards are loose (but in good repair), then take the time to tighten any loose screws, nails, or other fasteners. Ensure that all components are securely attached. If any of your boards are damaged beyond repair though, this is the point that it’s best to simply replace them.
6. Address any leaning posts
Leaning fence posts are easy to diagnose, and you’ll be happy to hear that they’re often easier to fix than you might think. Leaning fence posts can be especially common during winter, as they can develop rot at their base from being covered in accumulated wet, rotting leaves. Plus, they can sometimes end up leaning not because of a problem with their own structure, but because of the soft ground. In case you need it, we produced a detailed guide on how to fix a leaning fence in a previous post.
Phase 4 – Secure the surrounding environment
7. Trim vegetation back
To avoid any falling branches or more dead leaves running the risk of ruining all your hard work, once you’ve dealt with the immediate issues with your fence it’s a good idea to trim any overhanging branches or plants near the fence.
8. Snow better time to get started
It’s looking unlikely so far this year, but if you experience any moderately heavy snowfall, make sure that it doesn’t end up accumulating too closely to your fence. Not only can the moisture start to seep through into the wood (which is how rot can develop), but sometimes the sheer weight of snow can pose a threat to the stability and integrity of your fence, too.
9. Clean your fence
Now that the fence is in good repair and free from immediate risk from its surrounding area, you can start the job of cleaning it. The first step is to give it a quick once over again to remove debris, leaves, and dirt from the fence, as these can trap moisture and contribute to rot.
Doing this should protect your fence against mould and mildew too. However, if any had a chance to develop already, just clean the affected areas using a mildew-resistant cleaner and a soft brush.
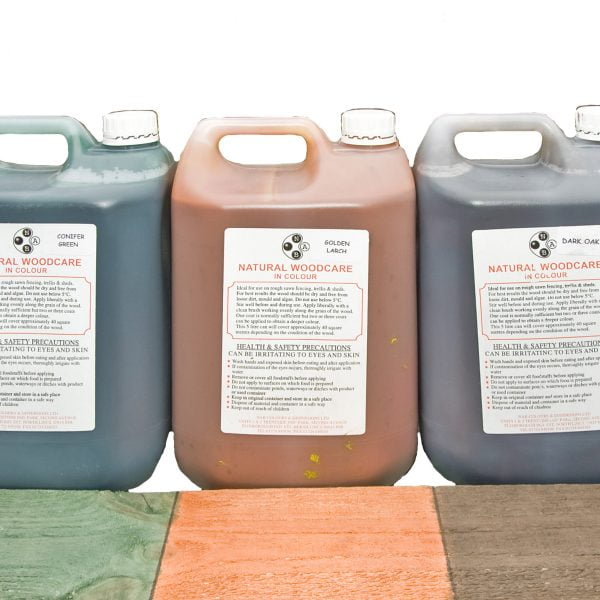
10. Consider applying a protective finish
This is an optional final step, but one that’s definitely worth considering, as it can save you a lot of time in future. Weigh up whether it’s worth applying a protective finish or sealant to the wood to guard against moisture, mould, and mildew. Before you start applying it though, always take the time to ensure that its compatible with your fence, and make sure to follow the manufacturer’s recommendations. If there’s any doubt in your mind at all, it’s always best not to risk it!
Those are just our suggestions – you might be able to think of a few yourself! And if you’ve got any questions at all, don’t hesitate to get in touch. Around this time of year, it’s also worth taking a look at our post on how to fix a storm damaged fence – and if you ever decide you need any replacements, that’s exactly where we can help here at Welch Fencing.
We’ve got a great range of replacement fence panels and concrete fence posts for you to browse right here on our site. As an experienced UK manufacturer of concrete fence posts and garden fence panels, we have our very own fleet of delivery vehicles at our disposal, allowing us to get your products right to your door.
For a quick and easy estimate, have a go with our fence calculator.
If you have any questions about any of our products, or you need any more detailed information, feel free to contact us on 01772 336 476, or fire us a quick email on [email protected].